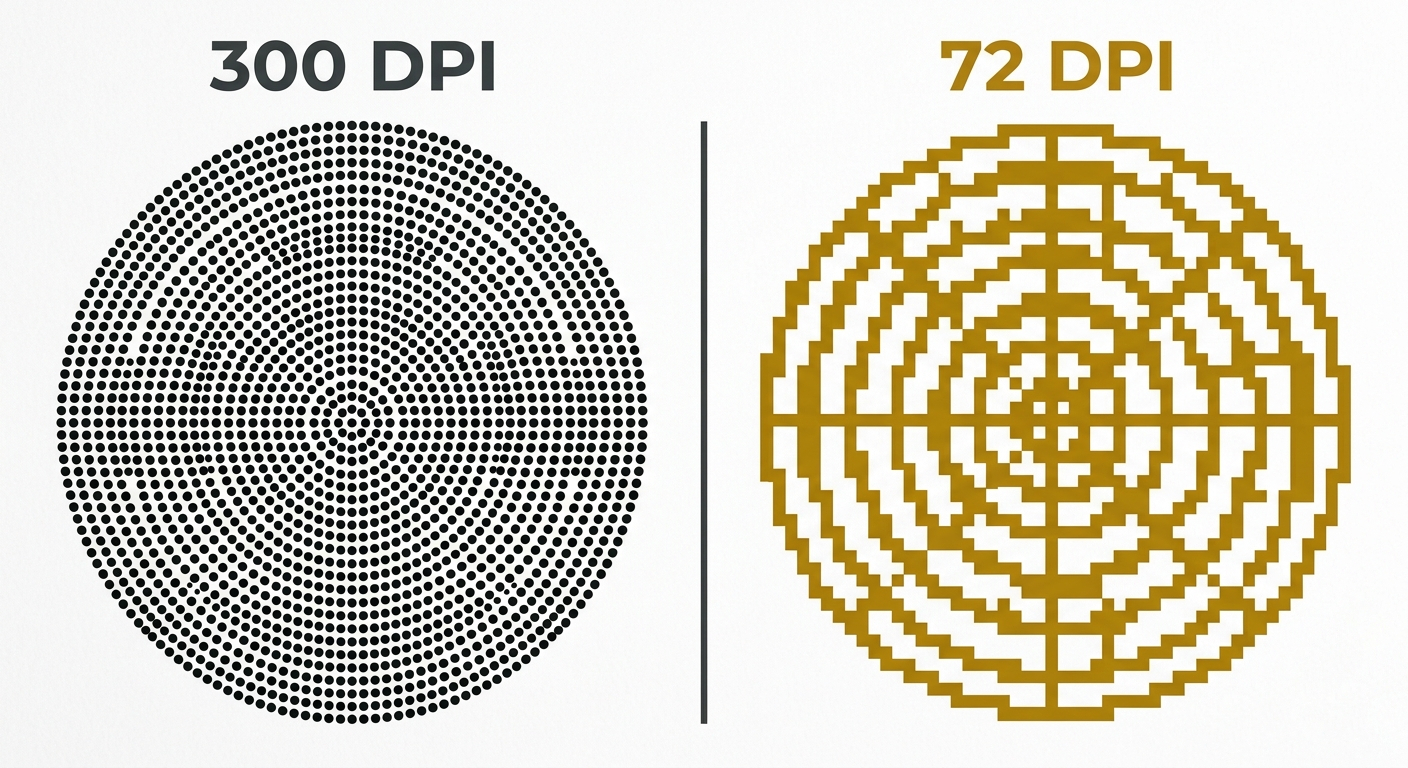
300 DPI vs 72 DPI Why image resolution matters in professional printing
One of the most common mistakes when preparing artwork for print is using low-resolution images. A design may look perfectly sharp on a computer screen but appear blurry or pixelated once printed.
Understanding the difference between 72 DPI and 300 DPI helps ensure your artwork looks professional both on screen and on paper.
What is DPI?
DPI stands for Dots Per Inch.
DPI describes how many printed dots fit within one inch of paper. The higher the DPI, the more detail the printer can reproduce.
Think of it like this:
- 72 DPI = fewer dots → less detail
- 300 DPI = many more dots → sharper images
72 DPI
Best for digital use
72 DPI was traditionally associated with computer displays and remains suitable for digital content.
Typical uses include:
- Websites
- Social media
- Email graphics
- Presentations
- Mobile apps
Advantages:
✓ Smaller file size
✓ Faster loading
✓ Ideal for screens
Limitations:
✕ Not suitable for professional printing
300 DPI
Standard for professional printing
Most commercial printing is prepared at 300 DPI.
It provides enough detail for:
-
Packaging
-
Labels
-
Brochures
-
Flyers
-
Books
-
Business cards
-
Posters (viewed at close range)
Advantages:
✓ Sharp text
✓ Smooth gradients
✓ Crisp photographs
✓ Professional print quality
Comparison Table
Feature | 72 DPI | 300 DPI |
|---|---|---|
Web use | ✓ | ✓ |
Professional printing | ✕ | ✓ |
File size | Small | Larger |
Image quality | Screen only | Print-ready |
Fine details | Limited | Excellent |
Common Misconception
Changing 72 DPI to 300 DPI does NOT improve image quality.
This is one of the biggest myths in graphic design.
If a small image contains limited pixel information, simply changing the DPI setting will not create new detail.
For example:
- Original image: 1000 × 1000 pixels
- Changing its resolution from 72 DPI to 300 DPI does not increase the number of pixels.
- The image will simply print at a smaller physical size while maintaining the same pixel count.
To improve print quality, the image must contain enough original pixels from the start.
Real Example
Image size:
3000 × 2400 pixels
Printed at 300 DPI
≈ 10 × 8 inches
≈ 25 × 20 cm
Excellent quality.
Same image printed much larger:
50 × 40 cm
Quality begins to decrease because the available pixels are spread over a larger area.
Typical DPI Requirements
Product | Recommended DPI |
|---|---|
Packaging | 300 |
Labels | 300 |
Business Cards | 300 |
Flyers | 300 |
Brochures | 300 |
Large Billboards | 100–150 |
Social Media | 72–144 |
Common Mistakes
Downloading images from Google
Most online images are too small for printing.
Using screenshots
Screenshots usually have low resolution and are unsuitable for commercial print.
Exporting with incorrect settings
Always verify the final resolution before sending files to print.
Enlarging small photos
Increasing image size does not increase image quality.
Professional Tips
✔ Use original high-resolution photography.
✔ Create graphics as vectors whenever possible.
✔ Check image resolution before exporting.
✔ Prepare print files as PDF with embedded images.
✔ Ask your printer if different resolution requirements apply.
Preparing artwork for professional printing?
Piranijart creates print-ready packaging, labels and marketing materials with proper image resolution, color management and production-ready files.